Navigating the world of online recharges can seem daunting at first. However, with Airtel’s user-friendly digital wallet, completing an Airtel prepaid recharge is just a matter of a few clicks. Whether you’re a seasoned pro or new to the world of online recharges, this step-by-step guide will walk you through the process, ensuring your next top-up is smooth and hassle-free.

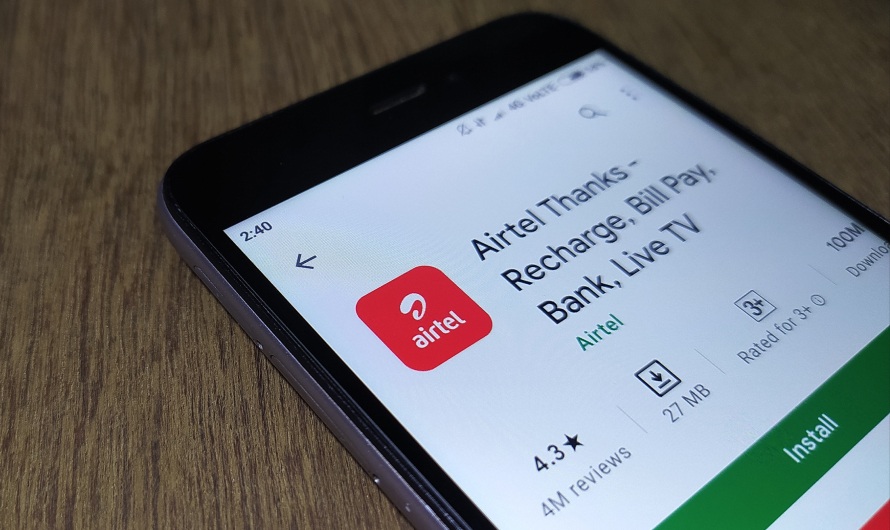
Step 1: Download the Airtel Thanks App
Your journey begins with the Airtel app, which you can download from the Google Play Store or Apple App Store. The app is a one-stop solution for all Airtel services, including prepaid recharges.
Step 2: Create an Account or Log In
Once the app is installed, open it and sign up if you’re a new user, or log in with your credentials. You’ll need to provide your Airtel mobile number and proceed with the OTP verification process for a secure login.
Step 3: Load Funds into Your Airtel Wallet
Before you can proceed with the Airtel prepaid recharge, ensure your Airtel wallet has sufficient funds. You can add money to your wallet using a credit/debit card, net banking, or UPI. Navigate to the ‘Add Money’ option, enter the amount you wish to add, and complete the transaction.
Step 4: Select the ‘Recharge’ Option
With your wallet funded, click on the ‘Recharge’ option within the app. You’ll find this either on the home screen or in the app’s menu. This section is dedicated to all things related to recharges and bill payments.
Step 5: Enter Your Airtel Number
The app will usually detect your Airtel number automatically if you’re using an Airtel connection. If not, you can manually enter the number you wish to recharge.
Step 6: Choose Your Recharge Plan
After entering your number, you’ll need to select the recharge plan that best suits your needs. Airtel provides a variety of options, including unlimited talk time, data packs, and combo offers. Carefully review the benefits and validity to make an informed decision.
Step 7: Proceed to Recharge
Once you’ve chosen your plan, click on the ‘Recharge Now’ button. You’ll be directed to the payment gateway, where you can choose to pay via your Airtel wallet. If you have promo codes or cashback offers, this is the time to apply them.
Step 8: Confirm and Pay
Review your recharge details one final time and confirm the payment. The amount will be deducted from your Airtel wallet balance, and the recharge will be processed immediately.
Step 9: Transaction Confirmation
Upon successful payment, you’ll receive a transaction confirmation both on the app and via SMS. This message will contain details of your recharge and the updated balance.
Step 10: Check Your Balance
To ensure the recharge was successful, you can check your balance directly through the app.
Tips for a Smooth Online Recharge Experience:
– Always ensure a stable internet connection to avoid any transaction failures.
– Keep your app updated to the latest version for a seamless experience.
– Review all plans thoroughly; sometimes, special offers are available that provide extra benefits.
– Opt for automatic recharges or set reminders to avoid service interruptions.
Conclusion:
With Airtel’s digital wallet, completing an online recharge has never been simpler. The process is designed to be quick, secure, and user-friendly, catering to the digital-savvy customer. Remember to keep your Airtel wallet funded for even quicker transactions. By following these detailed steps, your Airtel prepaid recharge is guaranteed to be a breeze, keeping you connected with the world without any interruptions. So, the next time your Airtel balance is running low, just tap into the app, and within minutes, you’ll be all set to continue enjoying Airtel’s services.


